Home
Why Choose Us
Services
Gallery
Testimonials
Contact
Schedule Tour
Our Gallery
Explore the Warmth of
Joylance Living
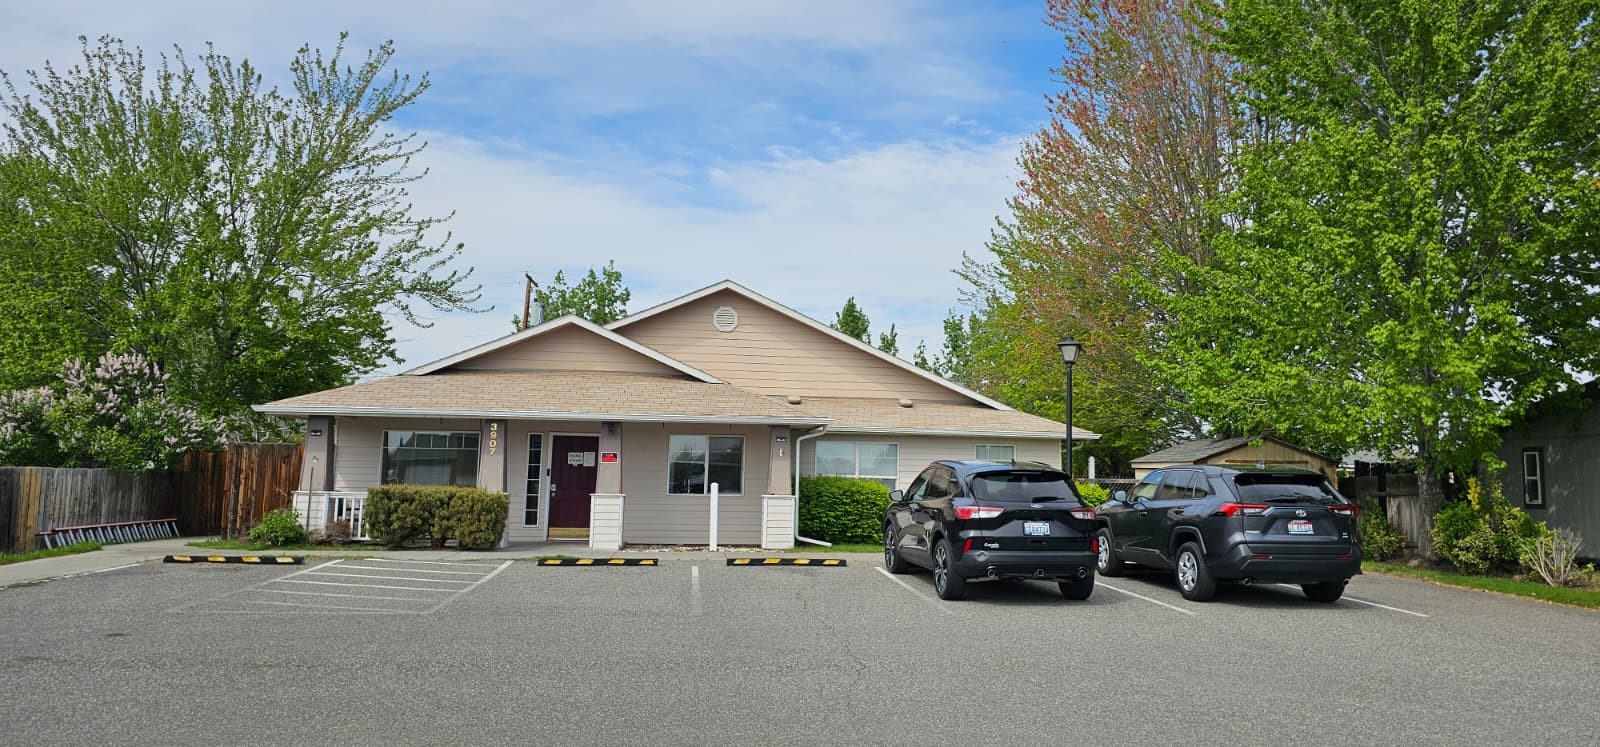
Joylance AFH
Joylance II AFH
Joylance AFH
Joylance II AFH
Joylance AFH
1 / 11
Joylance AI